Table of Contents
Would you like to change the WooCommerce quantity increment button in your online store? In this in-depth tutorial, I’ll show you how to adjust the step increment value to 2, 5, 10, or any other number so customers only purchase products in specific units.
Key Takeaways
- WooCommerce quantity increment buttons let customers adjust product quantities to be added to their shopping carts using the “+” and “−” controls.
- By default, WooCommerce’s quantity increment buttons only move in steps of one. As a result, stores that sell products in packs, sets, or custom measurements will need to customize the step value (e.g., 2, 5, 10, or 0.5) to match their business models.
- Adjusting the step quantity increment values in line with your business’s operating model improves profit margins, simplifies inventory management, enforces minimum order requirements, and creates a smoother ordering experience.
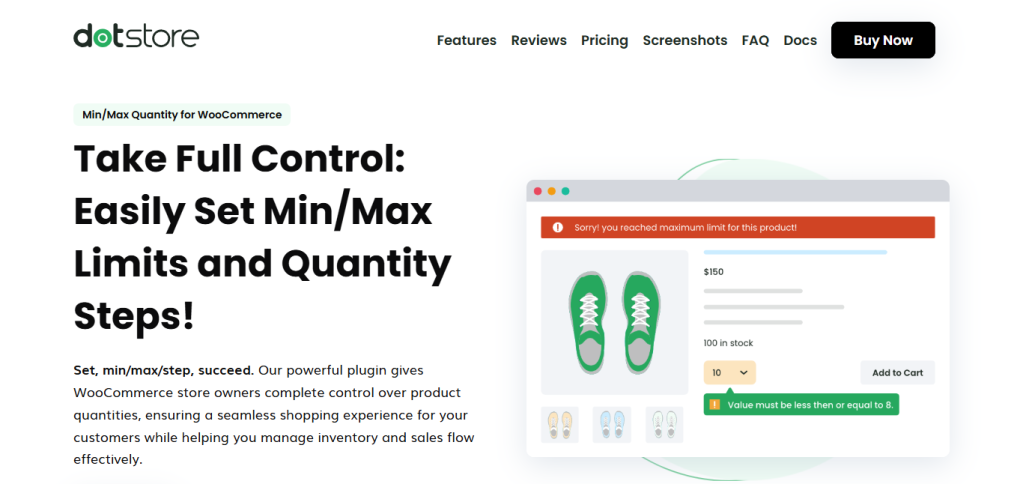
- The Min/Max Quantity for WooCommerce plugin by The Dotstore makes it super simple to set custom increments, minimums, maximums, and default quantities for products, variations, or entire categories. Plus, you can apply advanced conditions like shipping zones, user roles, and more.
- Common issues with increment buttons (like arrows not working) usually stem from theme overrides, plugin conflicts, or cached scripts, and can be fixed through quick troubleshooting.
Searching for a way to customize your store’s WooCommerce quantity increment options? This tutorial has your back.
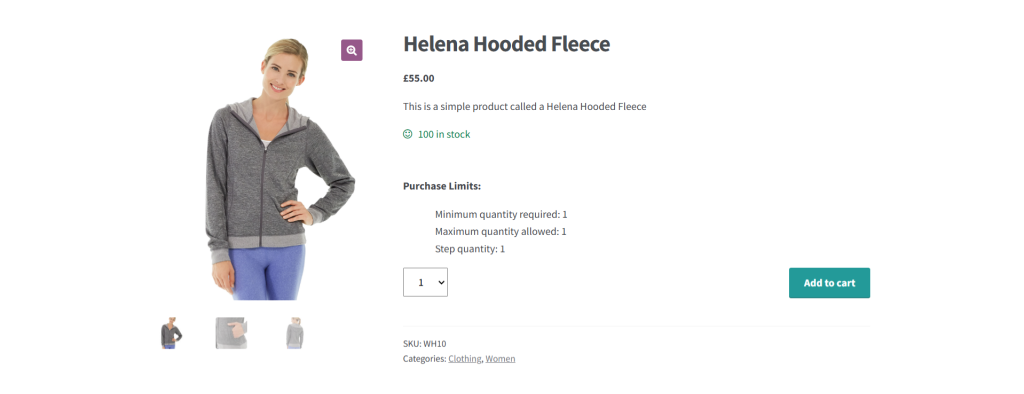
WooCommerce’s built-in product quantity settings add a simple “+/-” quantity selector that changes by 1 each time customers add or remove items from their shopping carts.
The step increment value of “1” isn’t ideal for stores that need customers to buy products in specific increments. Think: a wholesaler of items that only come in packs of 5 or custom fabric that’s only available by the yard.
Fortunately, you can modify your store’s WooCommerce quantity increment options with the help of a product quantity management plugin like Min/Max Quantity for WooCommerce.
A quick note: Min/Max Quantity for WooCommerce is our very own plugin. Since its release in 2020, thousands of WooCommerce stores across various niches have used it to modify the step quantity increment value, customize the style of the quantity selector, apply minimum and maximum quantity restrictions, and more. Check out the plugin demo or download the free or pro version now.
Min/Max Quantity for WooCommerce
Set min/max/step quantities to manage product quantities effectively and enhance the customer experience in your WooCommerce store.
14-day, no-questions-asked money-back guarantee.
To begin, let’s discuss how the quantity increment feature in WooCommerce works.
What are quantity increment buttons for WooCommerce?
Quantity increment buttons are the controls next to the quantity field on product and cart pages, and allow customers to quickly increase or decrease product quantity with a single click.
In WooCommerce, quantity increment steps define how the quantity field increases or decreases when customers use the “+” and “−” buttons.
By default, the starting number of items customers can add to their carts in WooCommerce is “1”. Pressing the “+” and “−” quantity buttons increases or decreases the selected product quantity by one unit at a time. Plus, if your quantity selector style enables user inputs, customers can simply enter any number as the desired product quantity.
Use cases for customizing the WooCommerce quantity increment button
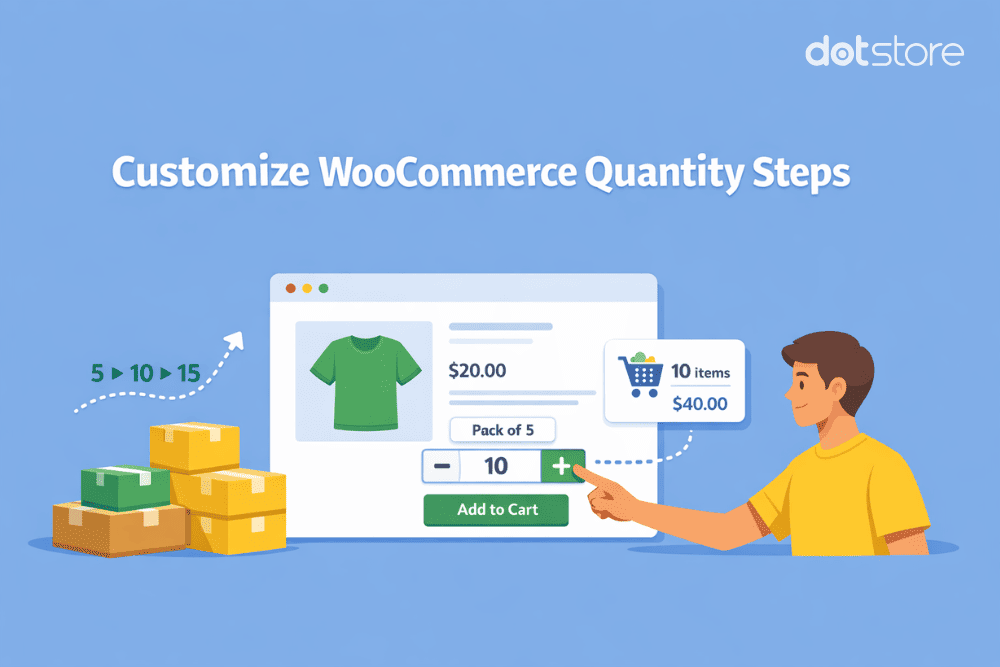
However, selling items one by one doesn’t make sense for some stores. Using a WooCommerce quantity increment plugin, you can adjust the product quantity to a custom step increment value — like 2, 5, or 10 — based on your specific business needs.
If your store sells items that must be bought in batches, you can modify the increment value so that when customers click on the “+” button, the quantity jumps accordingly. For example:
- A wholesale coffee seller might set the increment to 10 pounds if that’s your minimum order size. Customers can then easily select 10, 20, 30 pounds, and so on.
- A fabric store might want the increment set to 0.5 or 1 yard. This prevents customers from trying to order impossible quantities like 2.7 yards.
- A box manufacturer that sells exclusively to wholesalers in sets of 25 can set the increment to 25 to make sure that orders match your store’s packaging and order fulfillment workflows.
Why customize the WooCommerce quantity increment button?
Customizing the WooCommerce quantity increment button is much more than a minor tweak of your store’s user interface. When implemented thoughtfully, it can impact the profit margins, inventory management processes, customer shopping experience, and much more.
Let’s explore its key benefits.
It preserves profit margins on low-priced items
If you sell cheap products, allowing customers to buy one unit at a time can significantly dent your profit margins.
For example, a stationery store that sells stickers at $0.50 each might set a step increment of 10 to guarantee a minimum $5 purchase considering that processing a single order for a $0.50 item isn’t worth the time and transaction fees.
It simplifies order inventory management
It is much easier to manage your store’s stock levels when customers can only purchase in predefined increments. For instance, in a store that sells printer paper in reams of 500 sheets, setting increments of 500 can help keep inventory aligned with how items are packaged and shipped.
Matching how orders are placed to the way products are stocked helps prevent odd leftover stock and ensures smoother fulfillment.
It improves the shopping experience
Adjusting the predefined increment steps simplifies the process of selecting products and reduces friction. Customers won’t have to manually enter numbers or figure out how many items they need to reach the required amount.
As a bonus, it speeds up the ordering process and helps customers get to the checkout page faster.
It enforces minimum order requirements
If your WooCommerce store requires a minimum purchase quantity, setting quantity increments helps enforce that rule without needing to add extra message notifications in the product description.
A store that sells custom business cards can set a minimum of 100 and increase in steps of 50 to meet printing batch requirements. Customers will be prevented from adding products in random quantities — without needing additional manual intervention from store admins.
The best WooCommerce quantity increment plugin
Min/Max Quantity for WooCommerce empowers you to customize the value and style of the WooCommerce quantity increment button. As of the most advanced product quantity plugins, it enables you to fine-tune the product purchasing rules in your online store. You can use it to set step increments, minimum quantity rules, maximum quantity limits, default quantity, etc., for both physical and digital products.
With Min/Max Quantity for WooCommerce, you can adjust the step quantity increment values at different levels:
- For individual simple products.
- For product variations.
- For particular product categories.
Min/Max Quantity for WooCommerce’s standout features
1. Set step quantity increments
It gives you the flexibility to set custom step increments for individual items (both simple and variable products) as well as entire product categories.
For instance, a store that sells wine in cases of 6 can set the increment to 6 so customers can only buy 6, 12, 18, and so on. Whereas, an apparel manufacturer that sells various kinds of clothing in wholesale quantities can choose to apply an increment of 10 to all T-shirts while allowing jackets to be sold in increments of 5.
2. Enforce additional kinds of quantity restrictions
Beyond step increments, you can set additional kinds of product quantity limits in your online store, such as:
- Minimum quantity limits, e.g., customers must buy at least 10 products in a single order.
- Maximum quantity limits, e.g., preventing customers from buying more than 100 units in a single order.
- Default quantities. i.e., set the pre-filled starting quantity on product detail pages to 5 instead of 1.
You won’t need another plugin to customize product quantities in your online store.
3. Apply custom conditions for quantity restrictions
This product quantity management plugin enables you to customize increments and restrictions based on specific conditions, such as:
- Shipping location: This works based on your WooCommerce store’s shipping zone settings to limit the number of items customers can purchase depending on where they are located in the world.
- Product sales: This showcases custom product quantity settings based on product demand in your store.
- User roles: This matches your product quantity rules to different customer segments. For instance, you can require wholesale buyers to order items in order in increments of 20 while limiting retail customers to buy in increments of 1 per order.
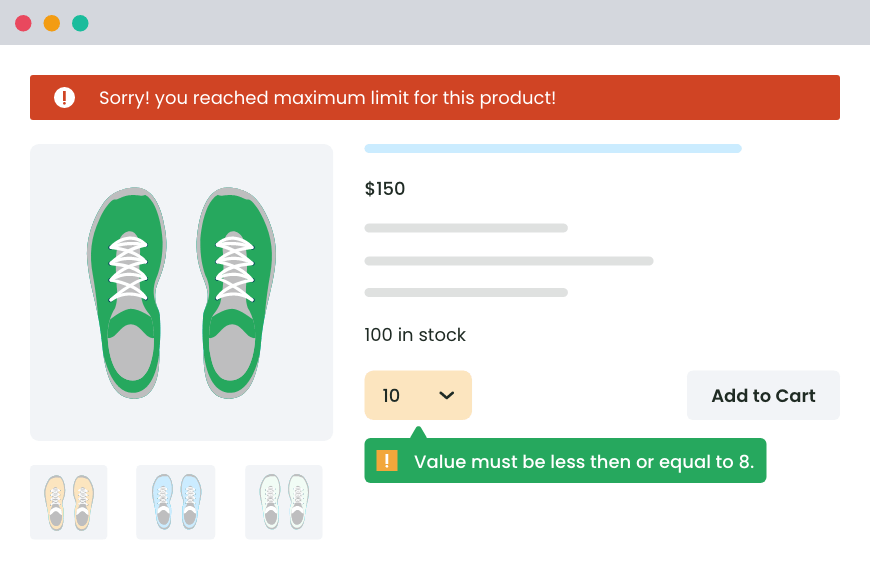
4. Modify error messages and display rules
Customizing your store’s default, minimum, maximum, and step quantity values doesn’t guarantee that every customer will adhere to them automatically.
Min/Max Quantity for WooCommerce enables you to modify error messages to provide clear instructions to guide customers to follow your product quantity settings. Plus, you can modify the display rules that control where these messages appear on both the product detail and cart pages.
5. Scheduling option
If you plan to only modify quantity settings for a specific period, you can schedule start and dates to automatically apply or remove restrictions as needed.
How to add the WooCommerce quantity increment button
In this section, I’ll walk you through step-by-step instructions to customize the quantity increment buttons using the powerful Min/Max Quantity for WooCommerce plugin.
As a bonus, we’ll adjust the default product quantity, define minimum and maximum restrictions, and modify the style of the quantity picker.
Visual learner? Here’s a step-by-step video walkthrough of the process:
Follow these steps to define custom WooCommerce incremental product quantities:
- Install and activate the Min/Max Quantity for WooCommerce plugin on your website.
- In your site’s admin panel, navigate to Dotstore Plugins → Min/Max Quantity → Add New. This is where you’ll modify the quantity increment steps.
- To begin, give your rule a name (note that this is only visible to site admins).
- Next, locate the Advanced Rules section and press “Add Group”.
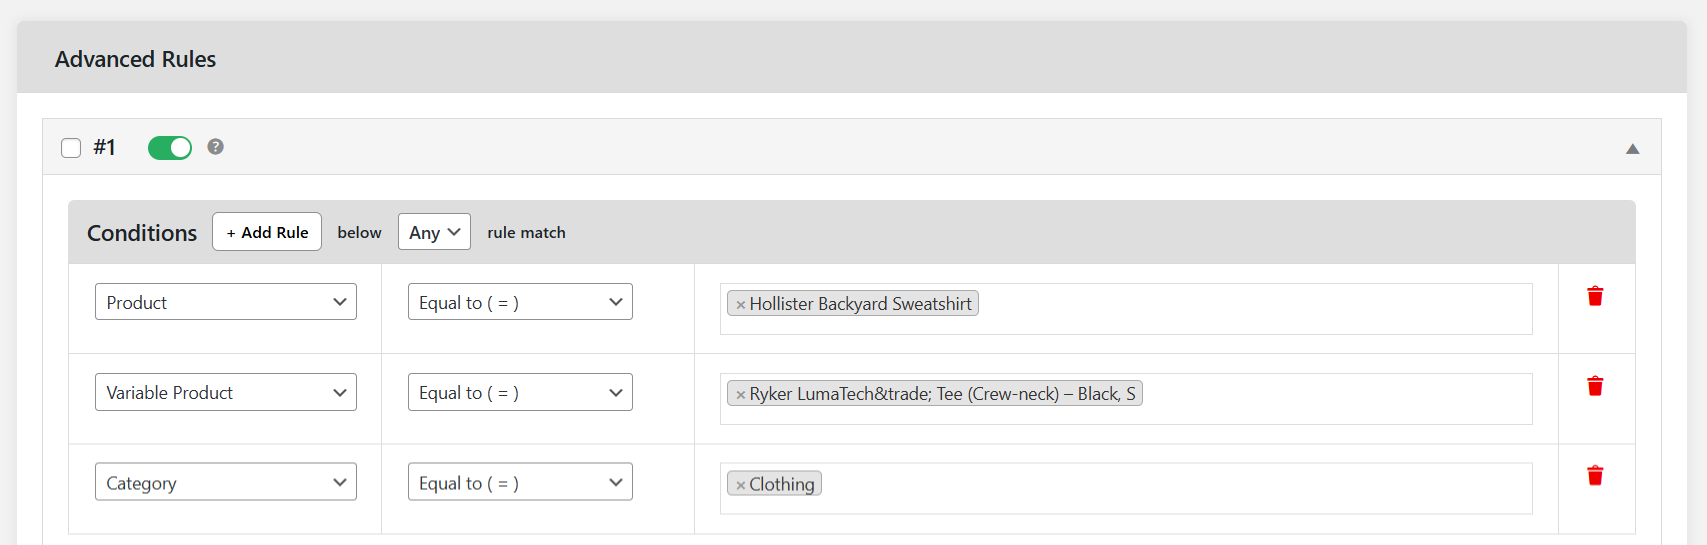
- Expand the collapsible panel, then start customizing the conditions that control how the step quantity increment rule works.
- To apply the rule to specific products, select Product from the left-side dropdown, then choose the applicable products from the right-side dropdown.
- To apply the rule to entire product categories, pick Category from the left dropdown, then select the relevant categories from the right-side dropdown.
- To apply the rule to specific products, select Product from the left-side dropdown, then choose the applicable products from the right-side dropdown.
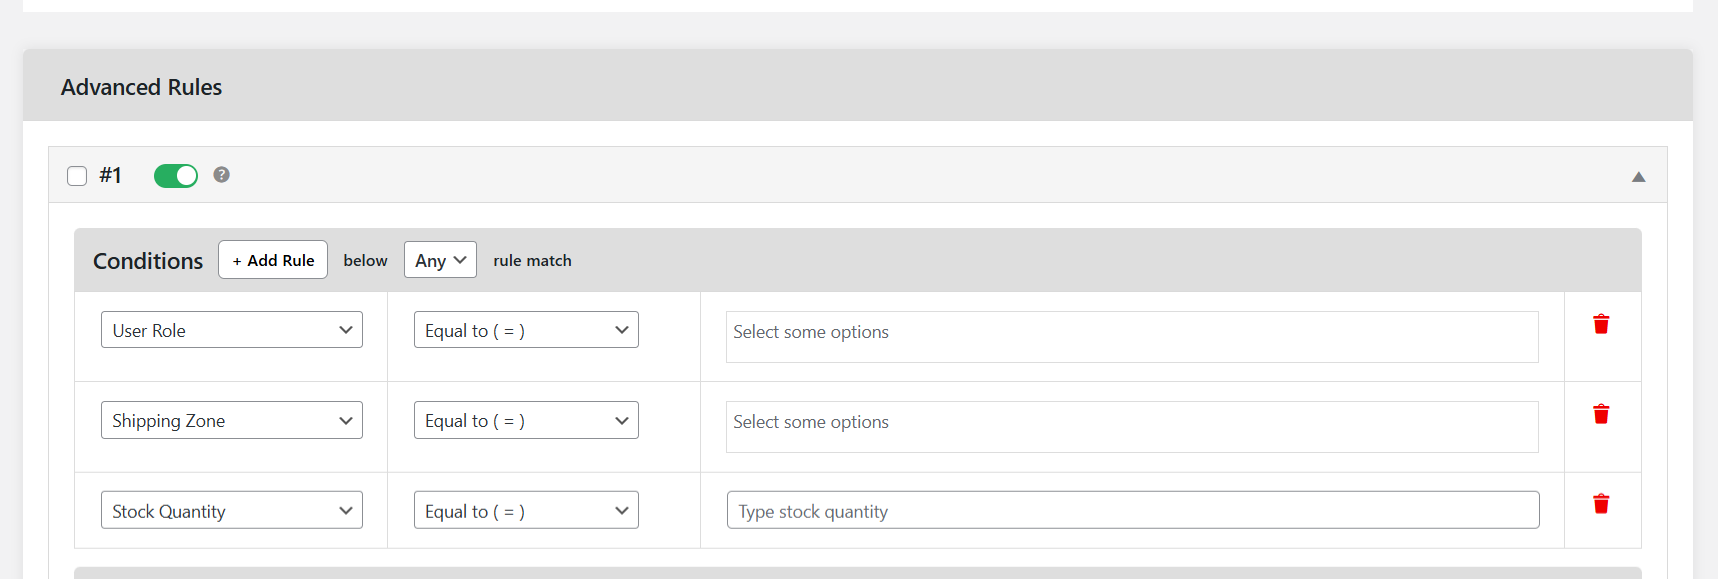
- You can also add extra conditions such as shipping zones, shipping methods, total product sales, specific product attributes, etc., from the same section, as desired.
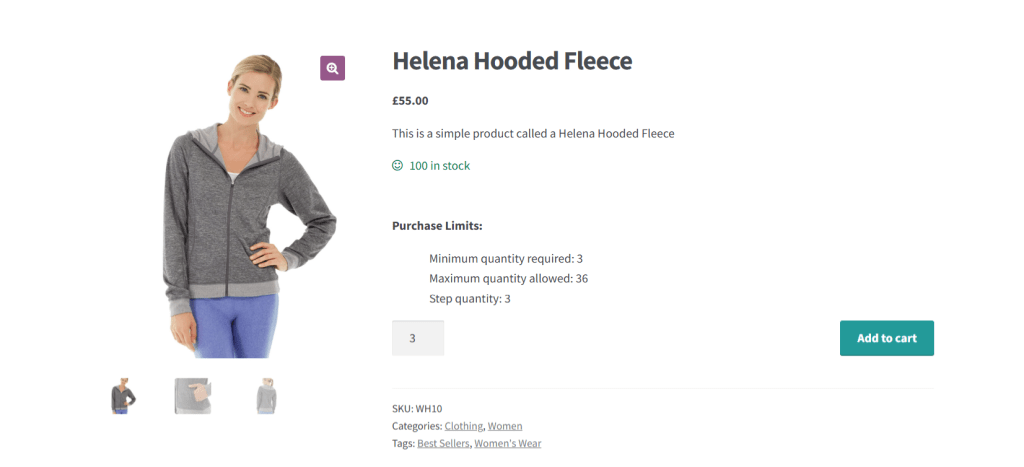
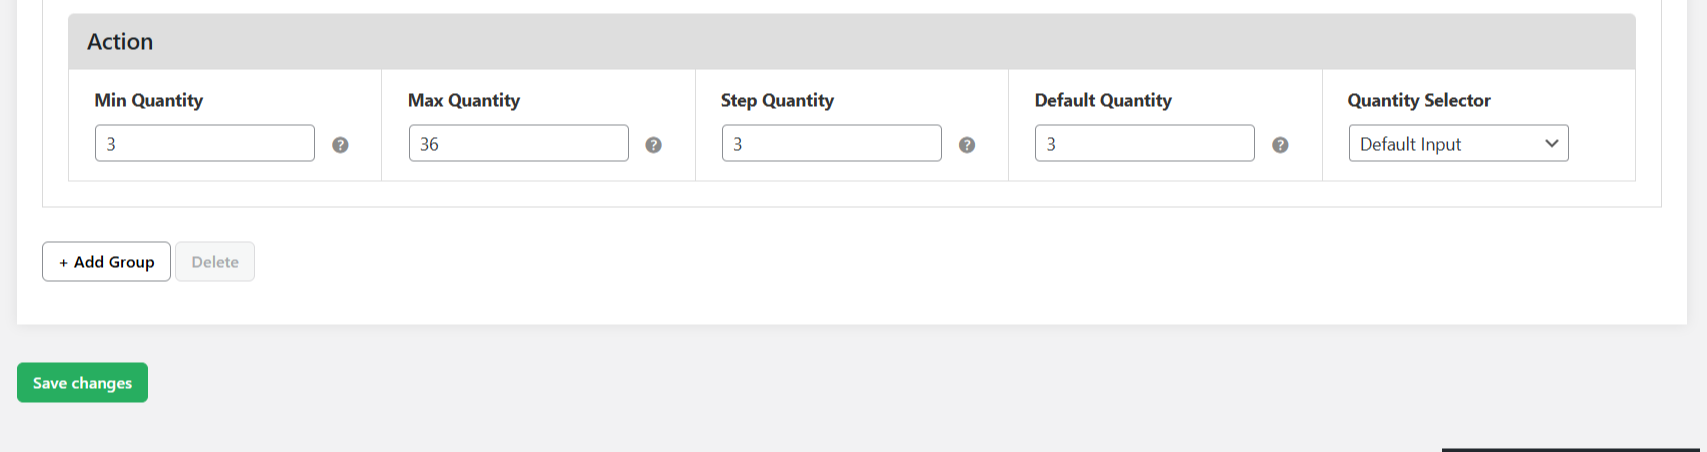
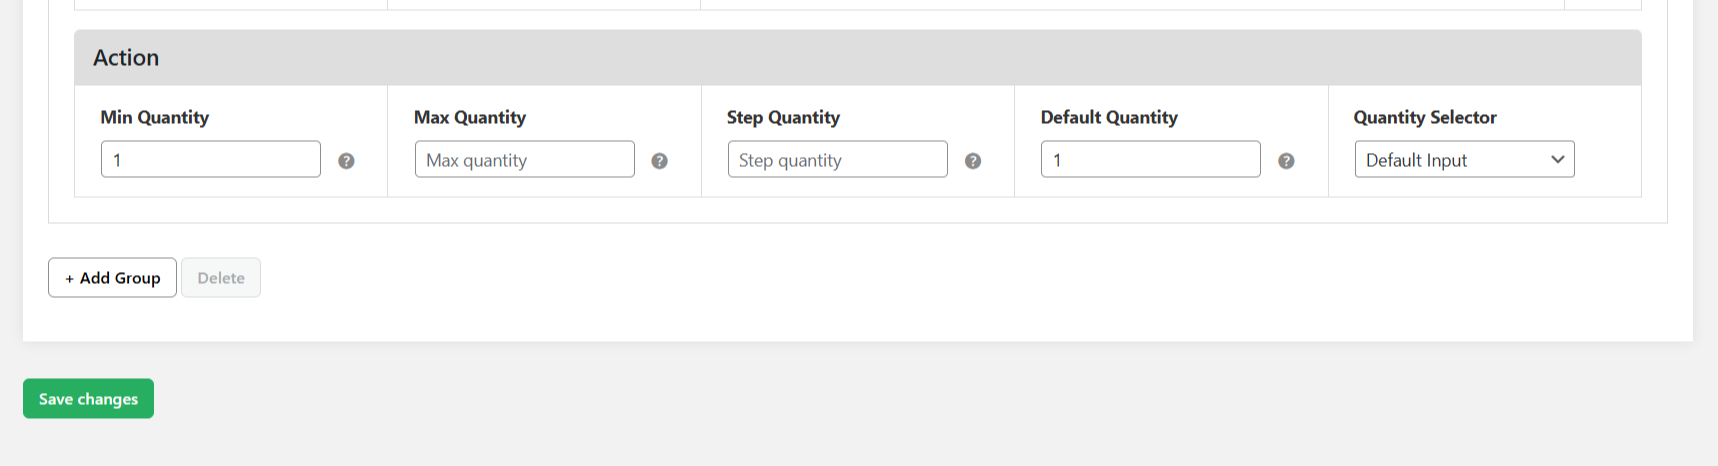
- Now for the key part: Under the “Action” section, set the new step quantity increment. From here, you can also adjust the default quantity, set minimum and maximum limits, and customize the quantity selector buttons.
- Once you’re happy with the customizations, press the “Save Changes” button at the bottom of the page.
How to modify the location of the product quantity rules table
- Go to Dotstore Plugins → Min/Max Quantity in your site’s admin panel, and access Settings → Display Rules.
- Toggle on the options to showcase the quantity rule table (including step quantity increments) on product detail pages as well as the cart page.
- Then, decide where to place the quantity rule table on product detail pages — whether above or below the “Add to Cart” button.
- Also, you can choose to add custom text e.g. heading or description above the product quantity rule table to provide additional context to customers.
- When you’re done, click Save Changes to apply the settings.
Optional: How to customize the updated product quantity error messages in WooCommerce
- Go to Dotstore Plugins → Min/Max Quantity in your site’s admin panel and access Settings → Messages.

- Modify the error messages that let customers know when the number of items or value of their shopping cart doesn’t match the product quantity rules you set.
- When you’re done, click Save Changes to apply the settings.
And that’s it! Here’s how the updated product quantity settings (including the WooCommerce quantity increment button) look on the front end of a demo store:

Tips for customizing quantity increment buttons for WooCommerce
Here are four practical tips for modifying the quantity increment buttons in your WooCommerce store.
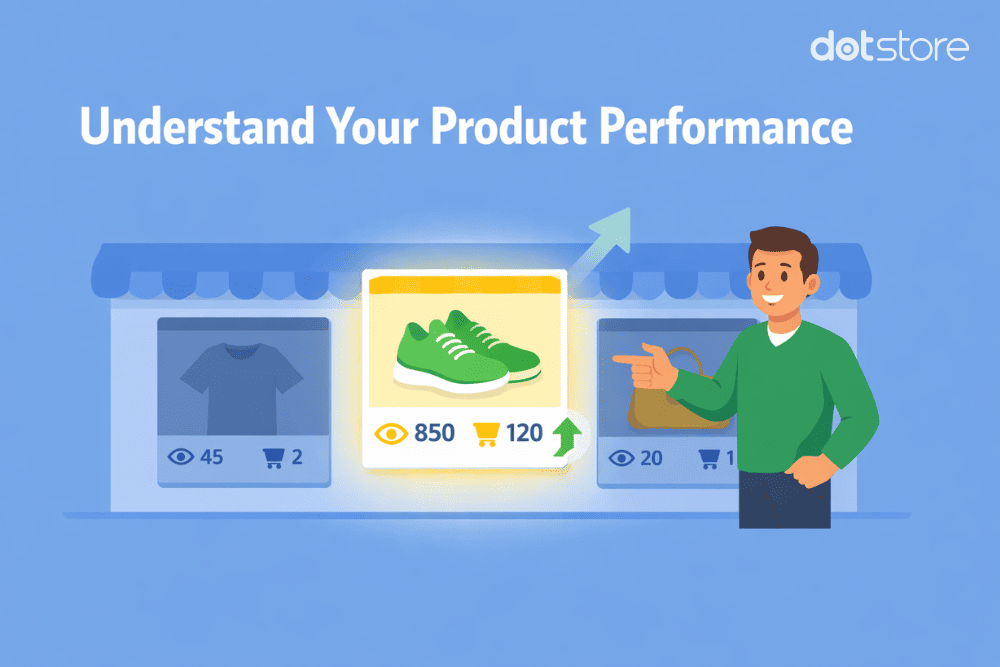
- Review past transactions to decide the step increment values based on data. For instance, WooCommerce reports will show you the average number of units customers buy for each product. This enables you to align your quantity options with your customers’ real-world purchasing habits.
- Adjust the default and minimum product quantity alongside step increment values. For example, if you set increments of 3 but leave the default starting quantity as 1, the first “+” click will take customers to 4. Similarly, unless you adjust the minimum quantity, customers might still be able to manually input custom product quantities. Unless that’s your intention, don’t forget to set the default and minimum starting quantity to match your increment (like 3, 6, or 12) so that customers only buy in the expected quantities.
- Apply step values across all variants of variable products. If you’re selling variable products (like a baseball cap with multiple sizes and colors), make sure to apply the increment rules to each applicable variant. Note: this applies to variant-based rules, not global rules.
- Optimize increment buttons for mobile devices. Considering that more than half of your shoppers are likely browsing on mobile, increment buttons that are too small or too close to other elements risk frustrating customers and losing sales.
FAQs about WooCommerce quantity increment
How do I set up quantity increments so customers can only buy in multiples of 10?
The best way to make sure customers can only purchase products strictly in multiples of 10 (say, 10, 20, 30, and so on) is by using a dedicated plugin like Min/Max Quantity for WooCommerce by The Dotstore. It gives you full control over quantity increments, minimums, maximums, defaults, input style, etc., in your WooCommerce store.
Here’s a step-by-step walkthrough of how to set up quantity increments so customers can only buy in multiples of 10 using the Min/Max Quantity for WooCommerce plugin:
- First, install and activate the free or pro version of the Min/Max Quantity for WooCommerce plugin by The Dotstore.
- From your WordPress admin dashboard, go to Dotstore Plugins → Min/Max Quantity → Add New. This is where you’ll create and manage your quantity increment rules.
- Start by giving your new rule a title (this is just for store admins’ reference).
- In the Advanced Rules section, tap on Add Group. Expand the panel and begin setting up the conditions that determine when and how the increment rule applies.
- To apply the rule to simple products, choose Product from the dropdown on the left, then select the relevant items from the dropdown on the right.
- To apply the rule to product variants, choose Variable Product from the dropdown on the left, then select the relevant items from the dropdown on the right.
- To apply the rule across an entire category, pick Category on the left and then choose the categories you want to target on the right.
- You can also layer in other conditions, like shipping methods, shipping zones, product attributes, or even total sales, depending on how precise you want to be.
- Now, under the Action section, set your step value to 10. This ensures customers can only purchase in multiples of ten. While you’re here, you can also adjust the starting quantity, apply minimum and maximum purchase limits, and style the increment/decrement buttons to fit your store.
- Finally, tap Save Changes once you’re happy to make the rule live.
Why are the WooCommerce quantity increment buttons or +/- arrows not working?
There are usually three main reasons behind the WooCommerce quantity increment buttons or the “+” and “−” arrows not working: theme compatibility, plugin conflicts, or misconfigured settings.
Let’s discuss what to do in each case.
- Theme conflicts. Not every WordPress ecommerce theme fully supports WooCommerce’s quantity input field. Some themes override WooCommerce’s default templates, which then causes the quantity increment arrows to disappear, display incorrectly, or stop functioning altogether. To confirm whether the issue is theme-related, switch temporarily to the default Storefront theme. If the quantity increment buttons work there, you’ll need to update your theme templates or contact your theme developer.
- Plugin conflicts. In WooCommerce, the quantity increment functionality is controlled by JavaScript. Another plugin loading conflicting scripts on your site can cause the “+” and “−” buttons to break. To quickly test if the WooCommerce quantity increment buttons aren’t working due to a plugin conflict, disable all plugins except WooCommerce, and then check if the quantity buttons work. If they do, re-enable your plugins one by one until you identify the one causing the conflict. Once found, you can either look for updates, contact the plugin developer, or find an alternative that plays nicely with WooCommerce.
- Cache or outdated scripts. If your WooCommerce store uses aggressive caching or a CDN, it’s possible that your site’s visitors may be loading outdated JavaScript files and then serving a cached version of the cart script where quantity increment events don’t bind properly. To fix this, clear your site’s cache, purge the CDN, and test in an incognito browser session.
Ready to customize the WooCommerce quantity increment buttons?
There are heaps of benefits to adjusting your ecommerce store’s incremental product quantity options: it streamlines stock management, improves customers’ shopping experience, enforces MOQ rules, and more.
The standard WooCommerce install makes it possible for customers to buy products in any step quantity, starting from one. To customize the increment step value, you’ll need to use a quantity increment plugin like Min/Max Quantity for WooCommerce.
Min/Max Quantity for WooCommerce enables customers to order products in the right amounts while streamlining your store’s inventory and checkout process. With it, you can adjust the default product quantity, enforce minimum purchase quantities, sell in specific batches, allow only set increments (e.g., 2, 5, or 10 units at a time), and much more.
Check out Min/Max Quantity for WooCommerce’s plugin demo or download the free or pro version now.
Min/Max Quantity for WooCommerce
Set min/max/step quantities to manage product quantities effectively and enhance the customer experience in your WooCommerce store.
14-day, no-questions-asked money-back guarantee.

🛒 Take Control: Set Min/Max Limits and Quantity Steps!
Try the plugin 100% risk free!