Table of Contents
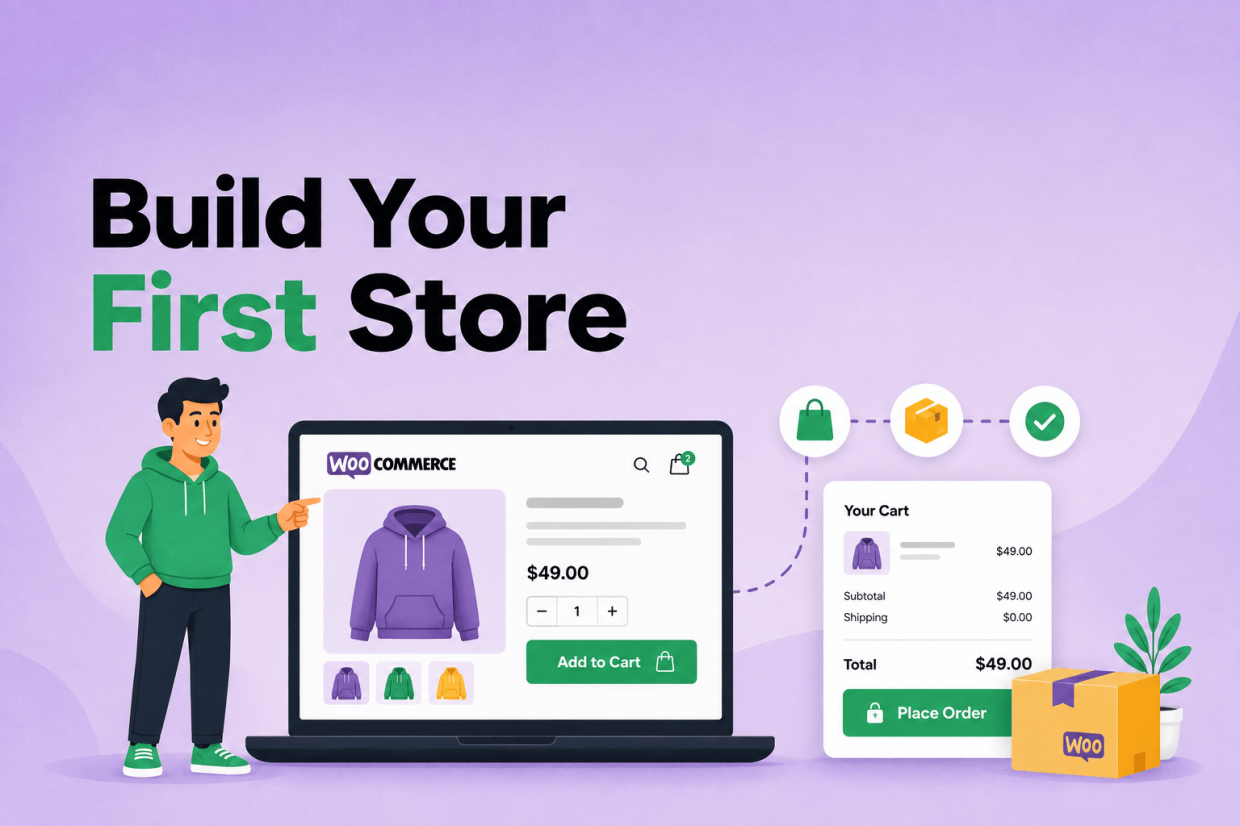
In this step-by-step beginner’s tutorial, I’ll show you how to build a WooCommerce store from scratch, including choosing hosting, installing WordPress and WooCommerce, configuring your store, adding products, and testing the checkout flow.
Key Takeaways
- To set up a solid foundation for your WooCommerce store, pick a WooCommerce hosting provider, install WordPress, connect your domain, and then install WooCommerce.
- Essential WooCommerce settings to configure include primary store location, currency, taxes, shipping zones, shipping methods, and payment gateways.
- Add products together with relevant product information, including the product name, description, images, pricing, inventory, and shipping information.
- Pick a fast, mobile-friendly WooCommerce theme with robust navigation and customization options.
- Prior to launch, run multiple tests of the entire user journey to make sure your WooCommerce store works as intended.
Most WooCommerce tutorials are hard to follow. They’re written for people who already know their way around WordPress and WooCommerce.
Not this one, though. This is a beginner-friendly guide.
Here, I’ll show you step by step how to create an online store with WooCommerce. Equally importantly, I’ll explain the reasoning behind each step and provide screenshots where necessary.
At The DotStore, we’ve been working with WordPress and WooCommerce since 2016, and today, our plugins are used by 100K+ stores. We’ve watched WooCommerce evolve from a scrappy plugin to the platform that powers nearly 7 million ecommerce stores. All this is to say, we know our way around WooCommerce.
For this WordPress WooCommerce tutorial for beginners, I built a store from scratch the way a first-time store owner actually would. I made sure to pull in our dev team for thorough explanations whenever I got stuck; if something confused me, I knew it would probably confuse you too.
If you follow this tutorial to the end, you’ll have a well-functioning WooCommerce store that’s ready to accept orders.
How to create and configure a WooCommerce store
Here’s a brief overview of the steps to set up a well-functioning online store using WooCommerce:
- Choose a Hosting Service and Install WordPress.
- Register your domain name and install WooCommerce.
- Configure basic WooCommerce settings.
- Add products to WooCommerce.
- Add and customize your WooCommerce theme and widgets.
- Add plugins to your WooCommerce store.
A quick note: I recommend various plugins and software throughout this post. Each has been vetted by our team, and we’ve provided multiple options so you can pick whichever fits your budget and specific use case(s). My advice? Every recommendation on this list is a top-tier one so don’t waste too much time deciding between the options. Whichever you choose, you’re not locked in forever. You can always migrate after your initial subscription period ends.
Step 1: Choose a Hosting Service and Install WordPress
Your web host provides the server space that keeps your site online 24/7.
Choose a WooCommerce hosting plan, not general WordPress hosting
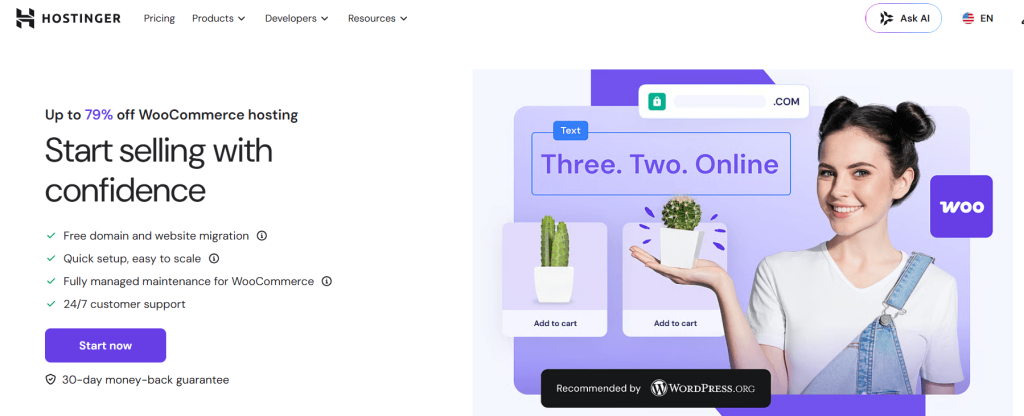
This is because, compared to a standard WordPress blog, WooCommerce runs heavier database queries, as product pages, cart, and checkout updates hit the database.
Top WooCommerce hosts that offer plans with at least 99.9% uptime, built-in caching, a CDN, as well as security features like free SSL, malware scanning, and regular backups are: Hostinger (for a budget-friendly option), Kinsta, and SiteGround.
Install WordPress
Because WooCommerce is a plugin that runs on top of WordPress’s platform, you need to install it first. All the hosting providers I recommended above offer a one-click WordPress installer, which makes this process super quick and straightforward.
Step-by-step guide to install WordPress
- Log in to your web hosting account’s control panel.
- Locate the “Website” or “Auto Installer” section.
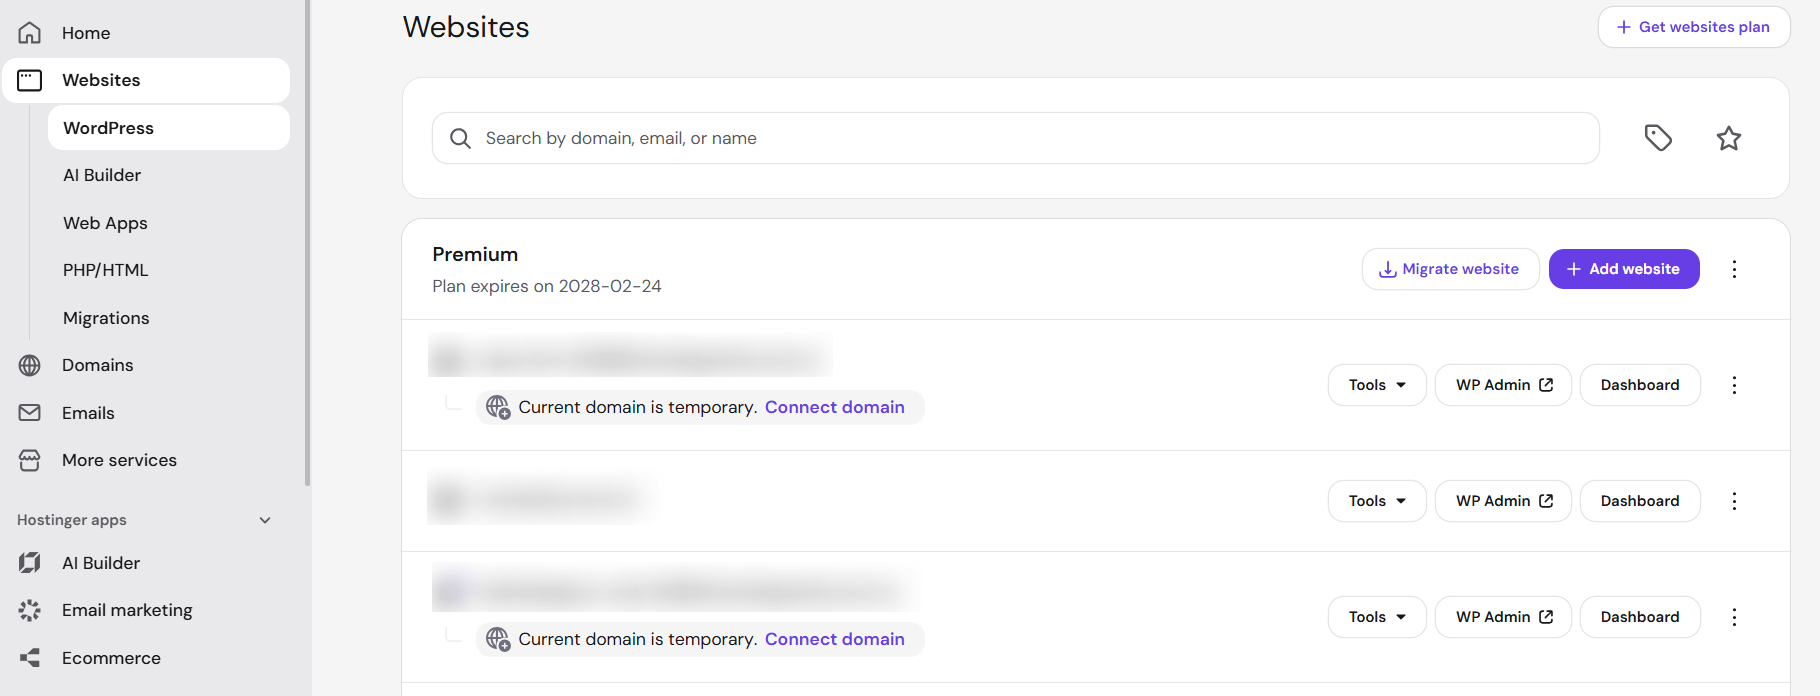
- Press the “Install WordPress” button and follow the prompts: pick your domain (more on that in Step 2), set an admin username and password, and give your site a working title (you can change it later).
- Once WordPress is installed, you can log into your new WordPress dashboard at
yourdomain.com/wp-admin/.
Step 2: Register your domain name and install WooCommerce
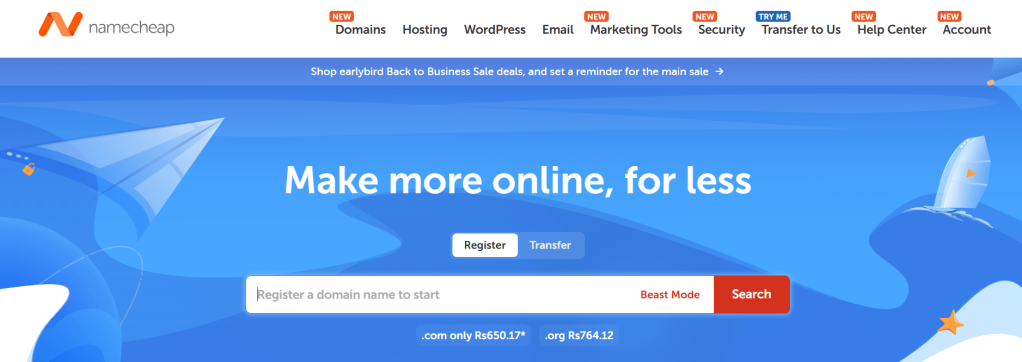
Your domain is your store’s address on the web, such as yourstorename.com. As of this writing, some website hosts, including Hostinger and Bluehost, throw in a free domain for the first year when you sign up for a hosting plan.
If your hosting plan doesn’t include a free domain, you can register for one separately via Namecheap or Cloudflare Registrar.
Factors to consider when choosing a domain
- Keep it short and memorable, so customers can easily remember and type it from memory.
- Stick to .com whenever possible, even if alternatives like .store or .shop are available.
- Skip hyphens and numbers, so that it’s harder to mistype.
- Check for trademark conflicts to avoid legal headaches down the road.
Important note: If you use different companies for domain registration and website hosting, you need to point your domain’s nameservers to your hosting provider to connect them both. The exact steps vary based on your website host, so you’ll need to check out their technical documentation or contact their Support team for assistance.
Install WooCommerce
Follow these steps to add WooCommerce to your WordPress site:
- From your admin dashboard, navigate to Plugins → Add New.
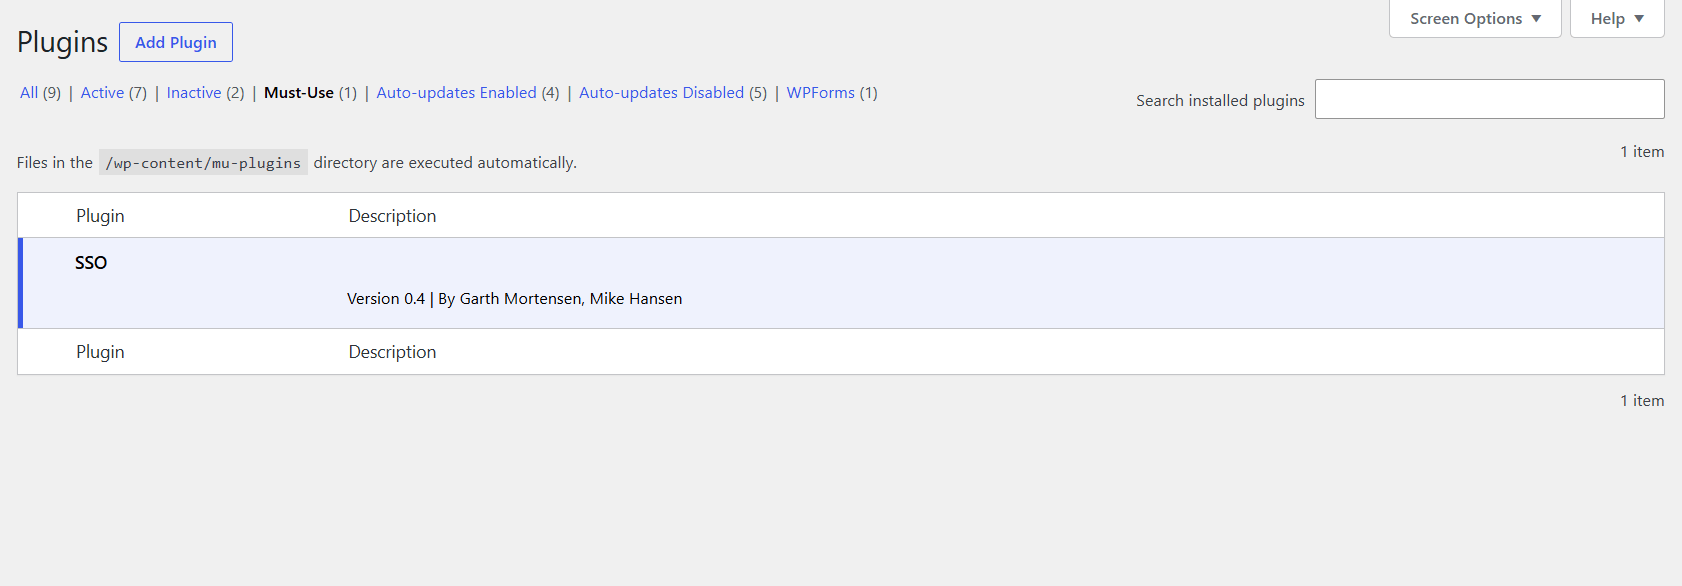
- Run a search for “WooCommerce”.
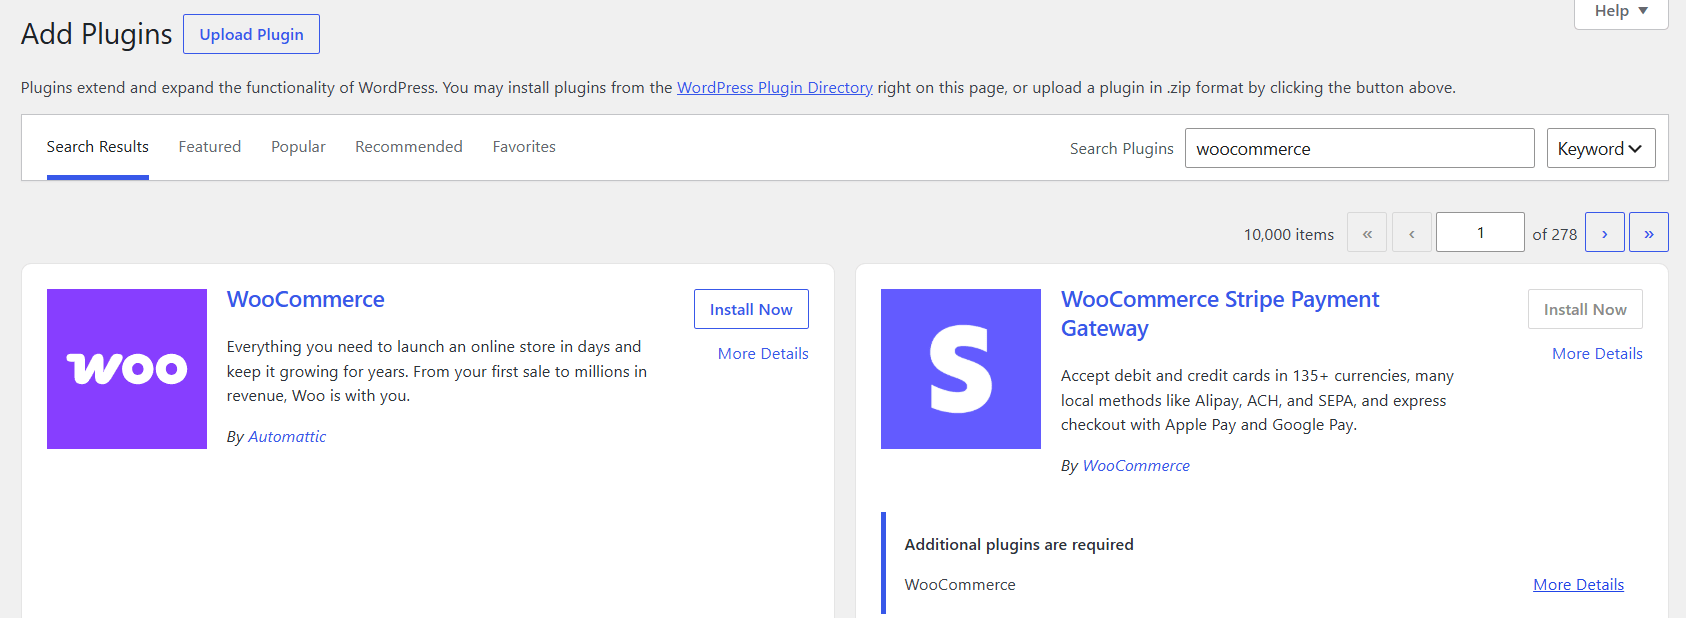
- Press “Install Now” followed by “Activate”.
- WooCommerce’s automatic setup wizard asks about your business/store, industry, product/service type, store location, and email, and may recommend optional features to pre-configure your settings. Note: You can amend all these details in Step 3. For now, answer as best you can and complete the steps in the setup wizard.
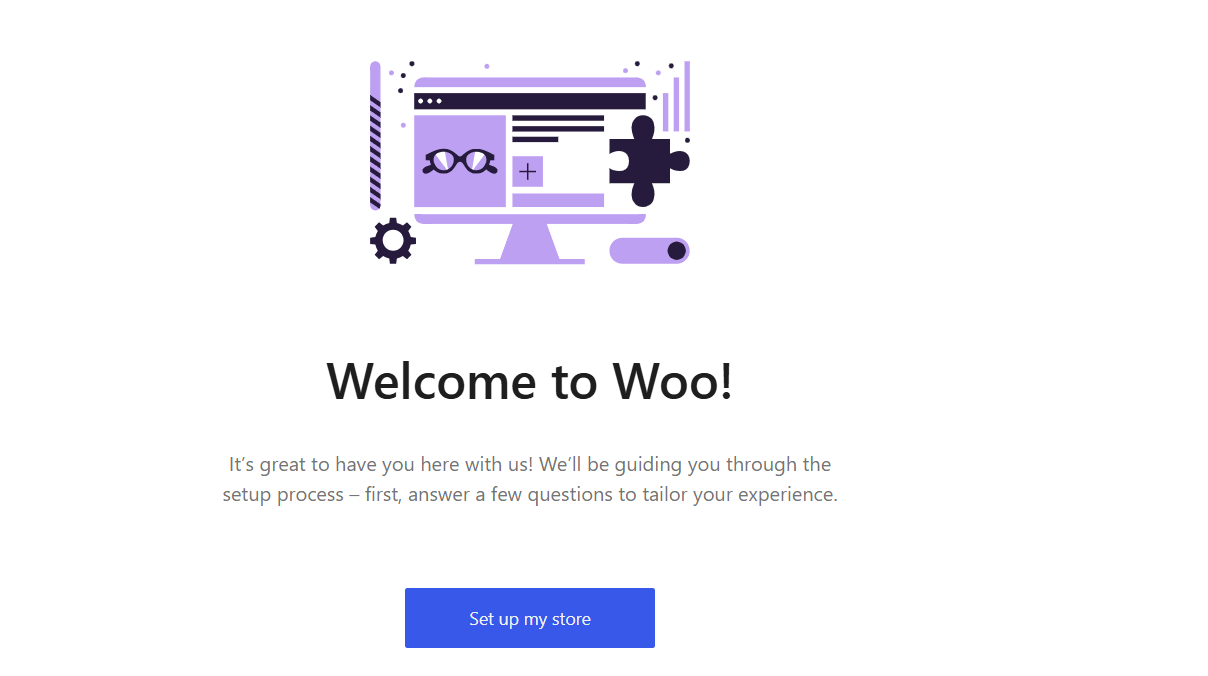
- Once you complete the steps in the setup wizard, you’ll be welcomed to your new WooCommerce Home screen and setup checklist.
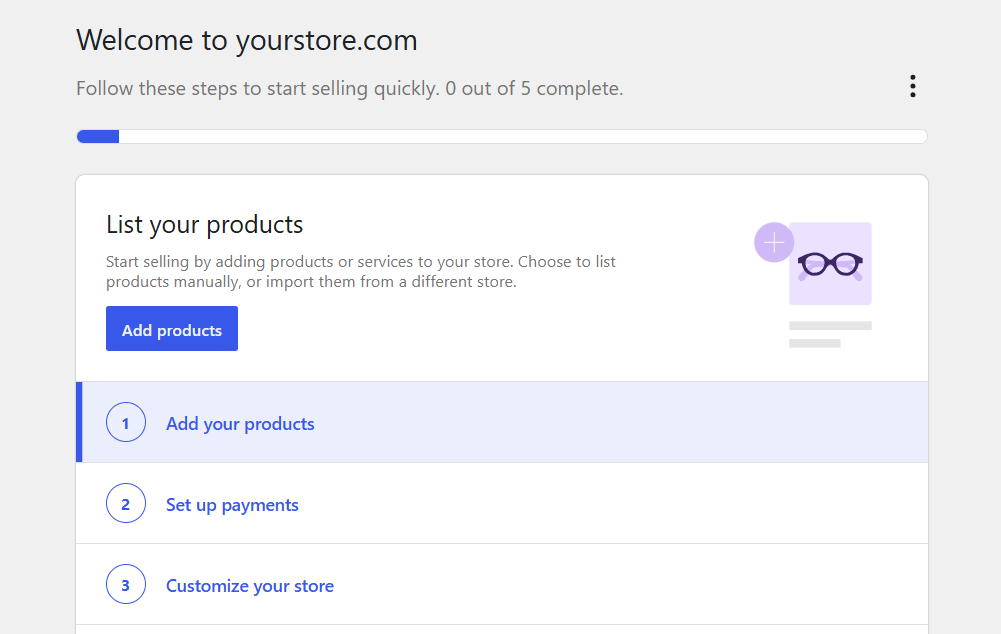
Step 3: Configure basic WooCommerce settings
At this point, you technically have an ecommerce store. You’ve installed the software, but your store isn’t ready to accept orders yet. It still needs to be configured and styled before you can start accepting orders.
Core WooCommerce settings to configure
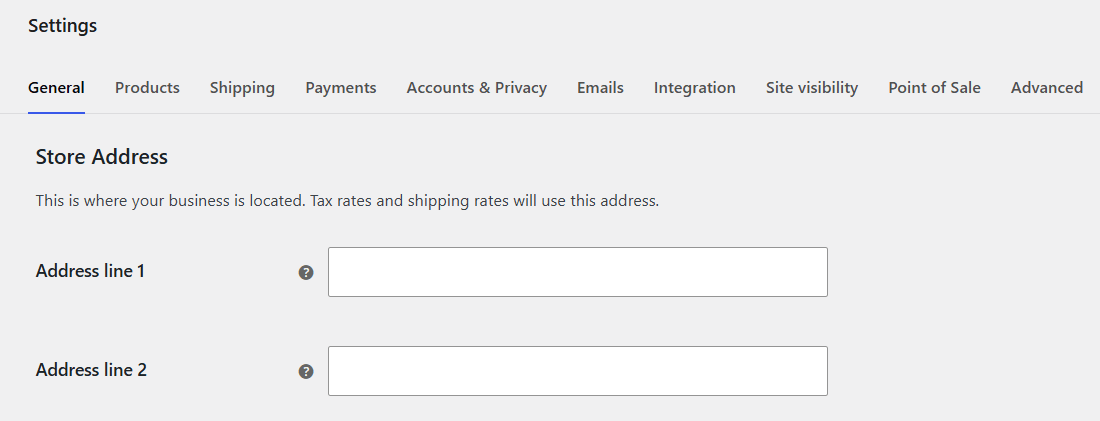
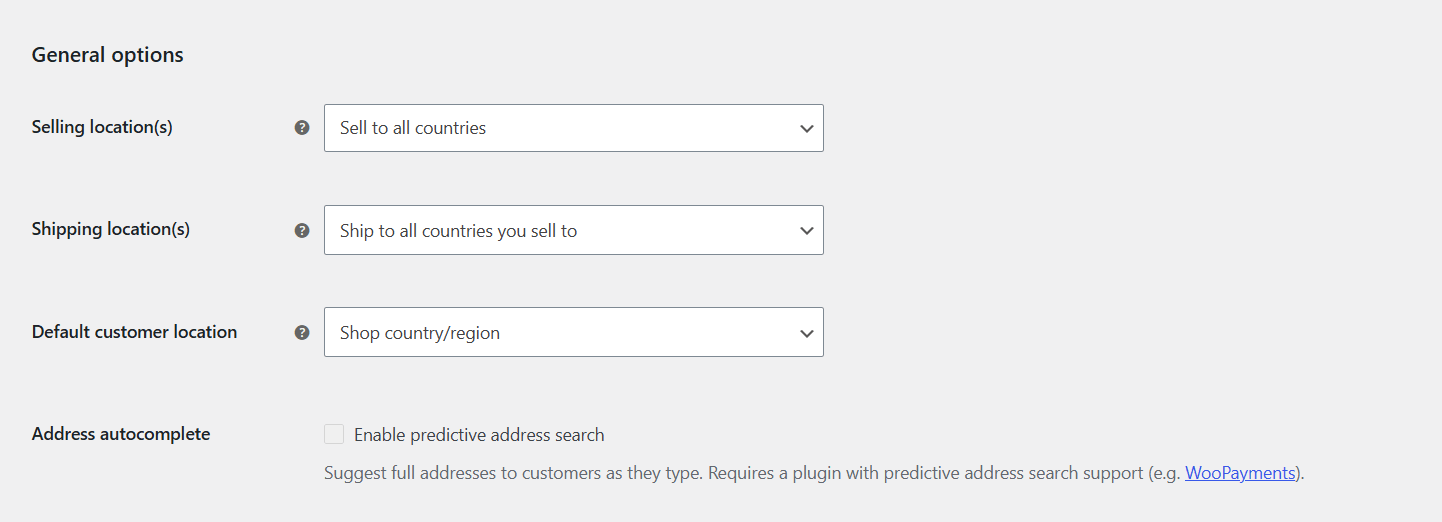
- Navigate to WooCommerce → Settings → General. Here are the most important settings to configure:
- Your store’s physical address (for accurate tax and shipping calculations).
- Selling locations (the specific countries you sell to).
- Shipping locations (for physical products: the specific countries you ship to).
- Taxes (enable WooCommerce to calculate tax for each order). Note that you still need to configure tax rates or use an appropriate automated tax solution. Also, tax obligations depend on jurisdiction.
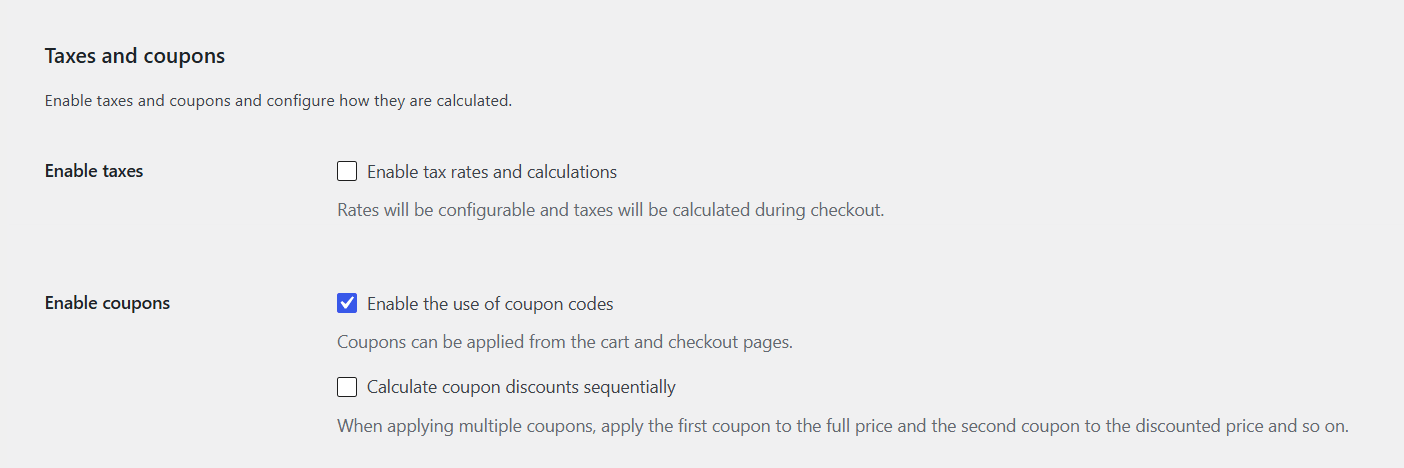
- Currency (the base denomination in which prices are displayed and order totals calculated).
- Your store’s physical address (for accurate tax and shipping calculations).
- Navigate to WooCommerce → Settings → Products, and configure:
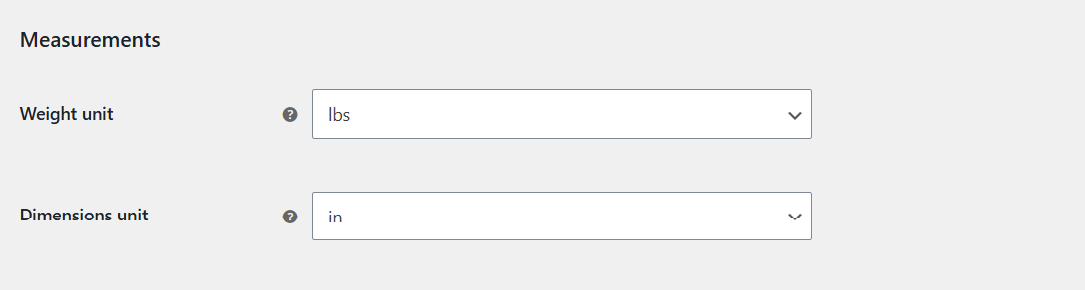
- Measurement units (metric or imperial, for weight and dimensional shipping calculations).
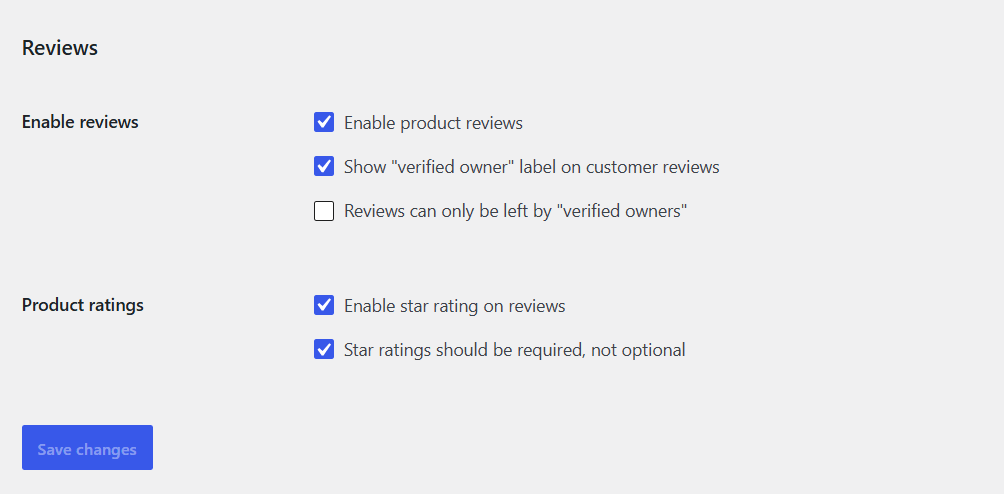
- Customer rating and reviews (Approved ratings and reviews are displayed on product pages).
- Measurement units (metric or imperial, for weight and dimensional shipping calculations).
- Configure shipping settings in WooCommerce → Settings → Shipping:
- Set up shipping zones for the areas you ship to (follow this shipping zone step-by-step guide).
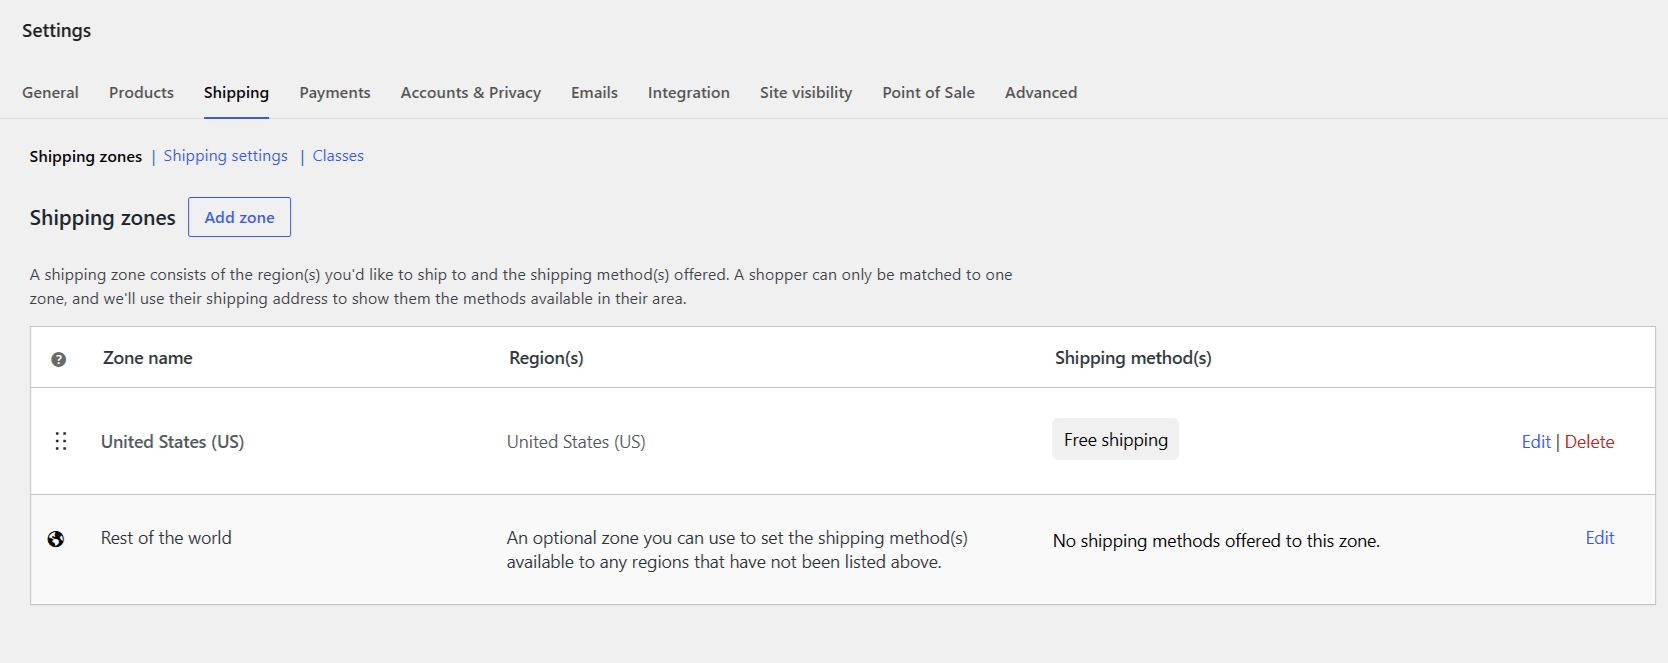
- Assign shipping methods to each shipping zone (follow this shipping method step-by-step guide).
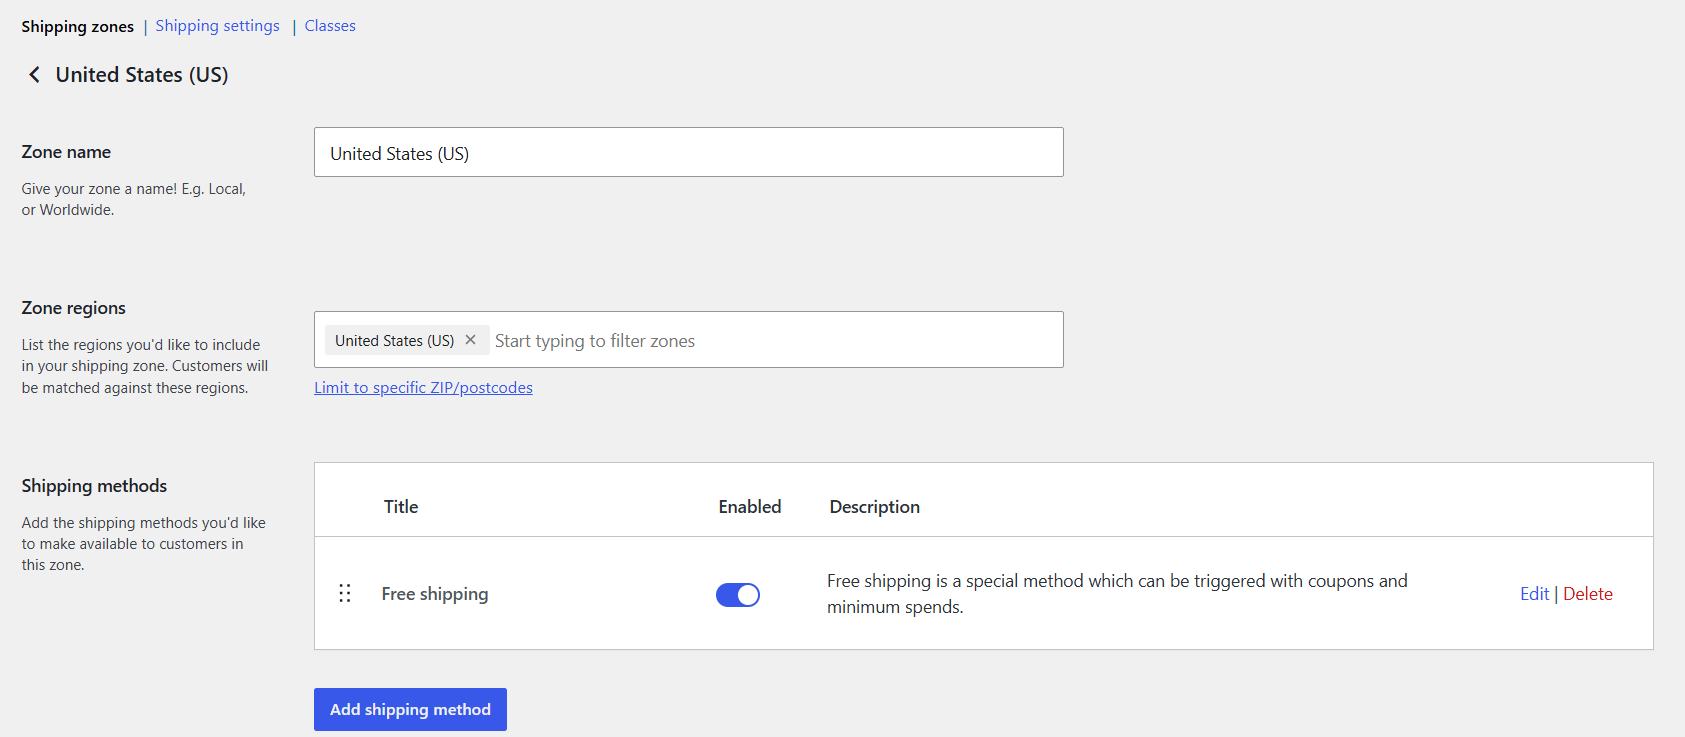
- Shipping settings (the shipping calculator on the cart page and the shipping destination).
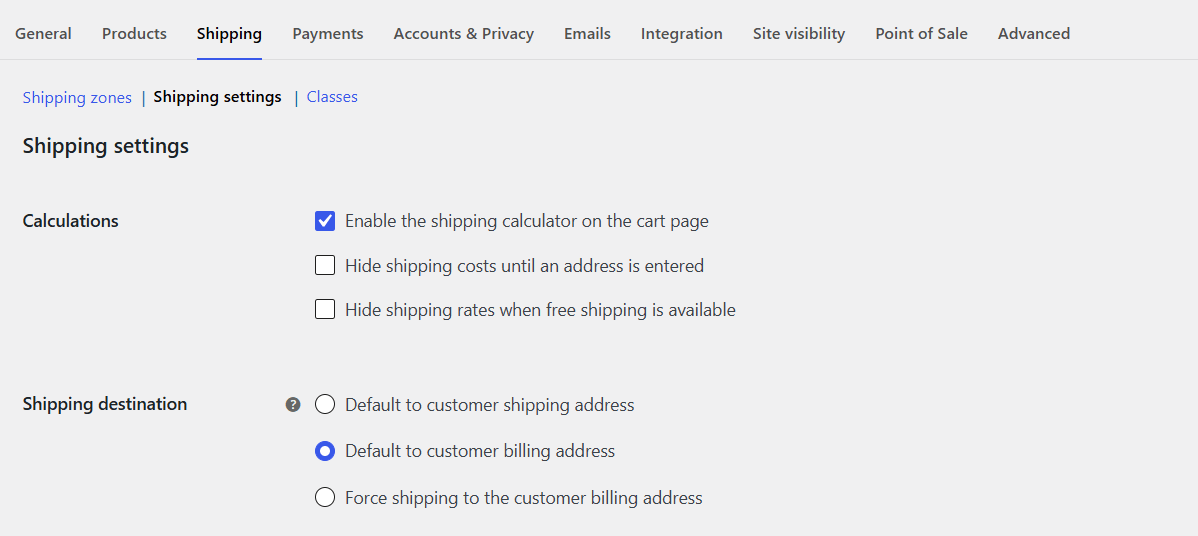
- Set up shipping zones for the areas you ship to (follow this shipping zone step-by-step guide).
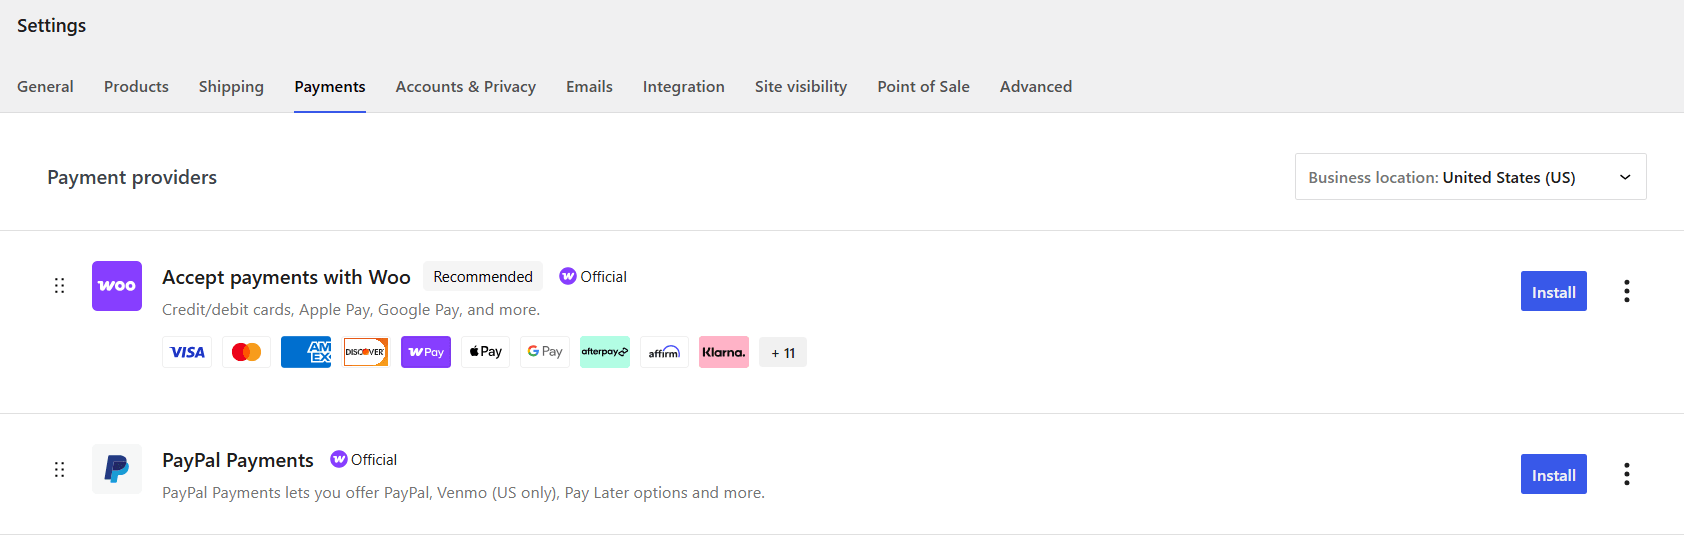
- Set up your preferred payment providers in WooCommerce → Settings → Payments. Note: Choose payment providers based on transaction fees per sale (typically 2–3%), supported payment methods (debit and credit cards, digital wallets like Apple Pay or Google Pay, and buy now, pay later (BNPL) options), and payout speed (the faster, the better). Also, make sure your chosen payment gateway works in the country you’re based in and all the countries you sell in. Popular gateways for WooCommerce are WooPayments (WooCommerce’s own first-party option), Stripe, and PayPal.
Step 4: Add products to WooCommerce
To add a product in WooCommerce, navigate to Products → Add New, and update the following:
- Product name. Make it clear, descriptive, and SEO-optimized.
- Description. Marketing copy with full details about the product.
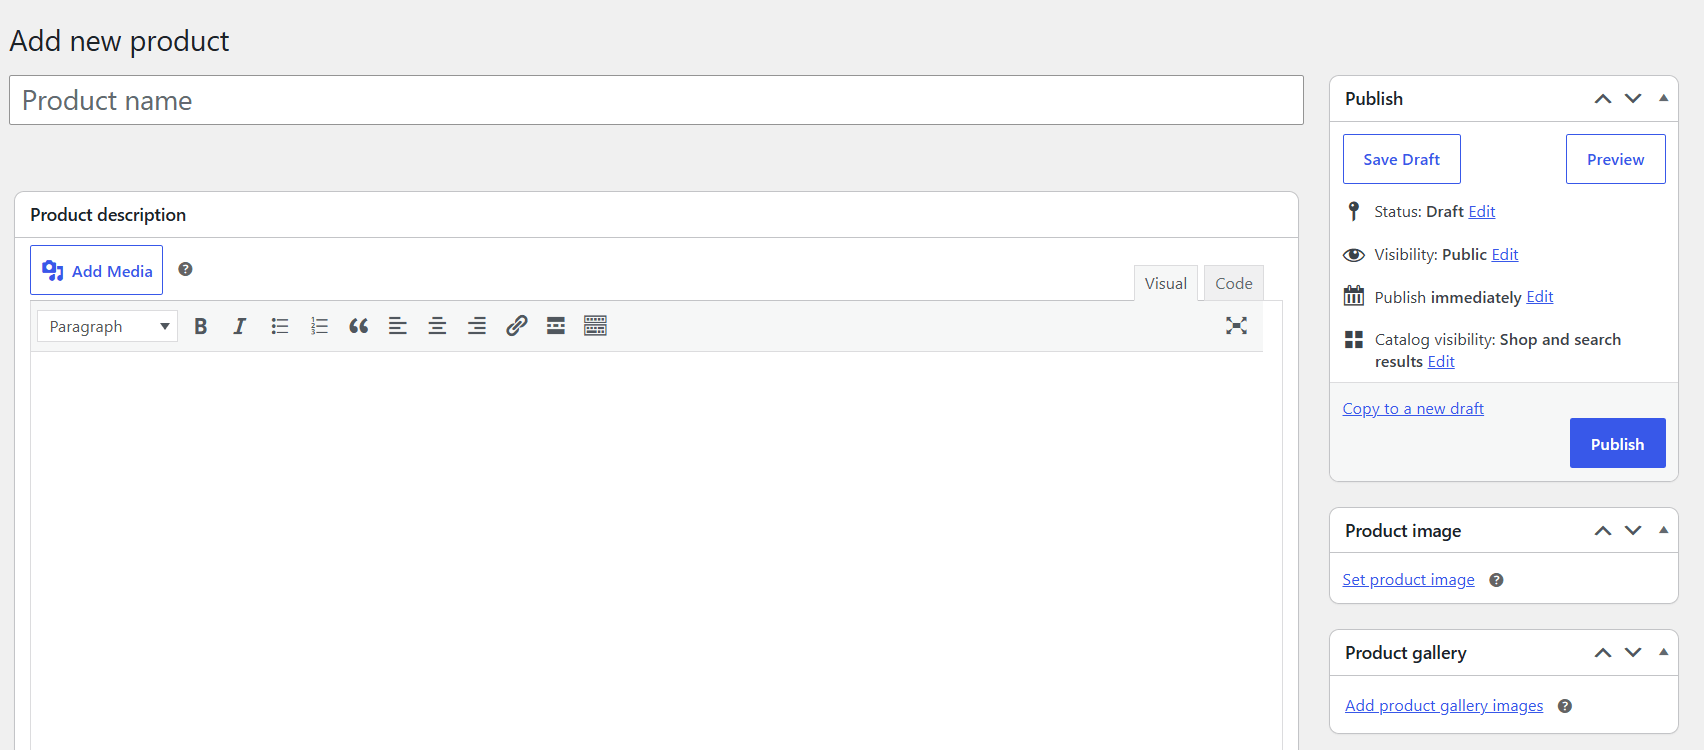
- Product image. Upload the main product image, plus a gallery of additional angles.
- Product category. Create a new category and assign it to the product.
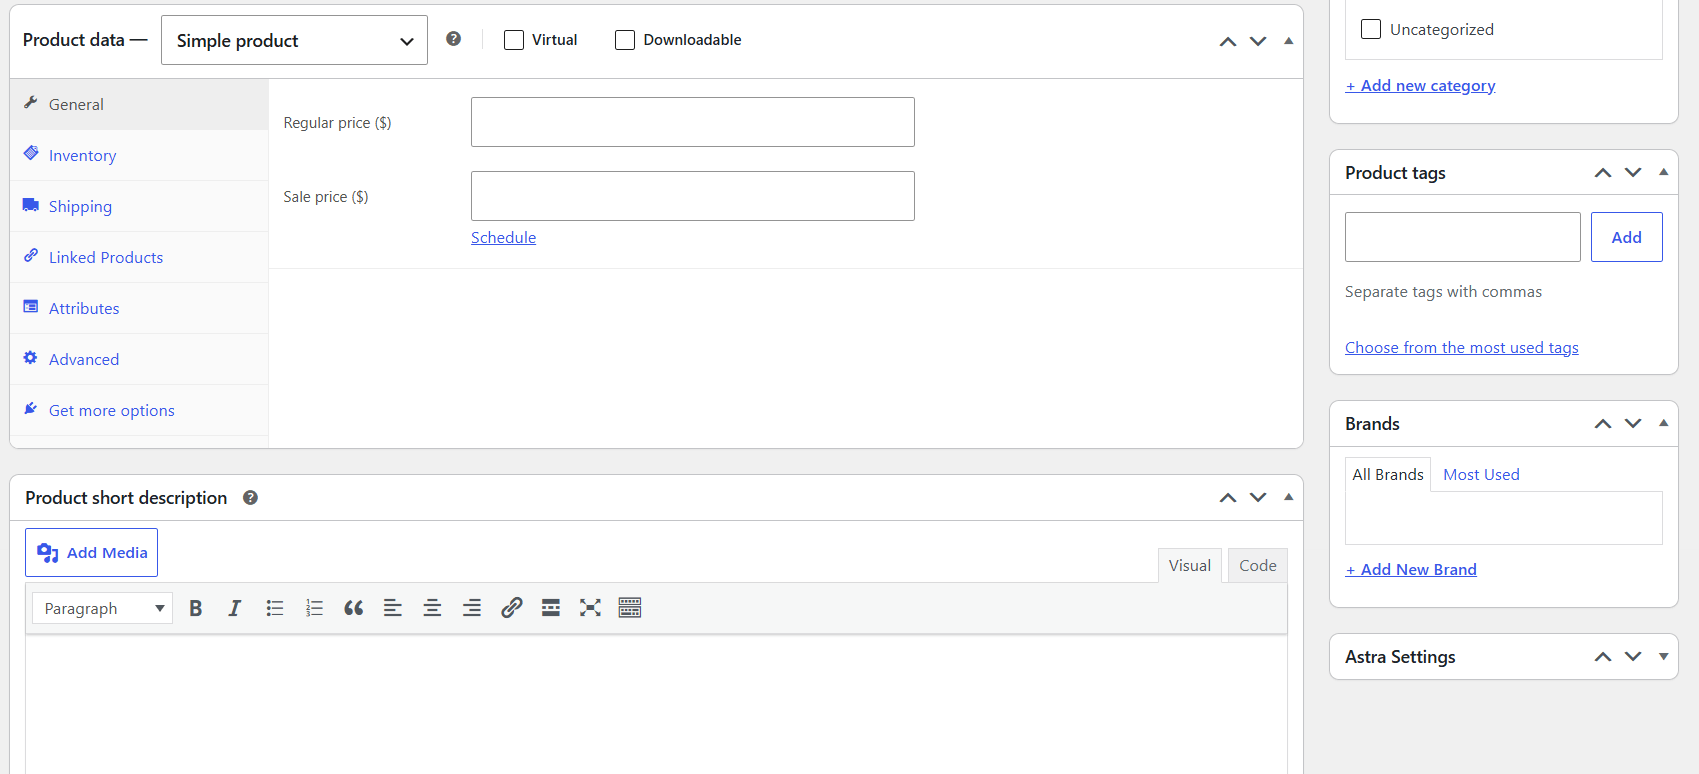
- Regular price. Add this product’s standard selling price.
- Sale price. If appropriate, add the discounted price.
- Inventory/SKU. Assign a product SKU and enter stock quantity for inventory management purposes.
- Shipping information. Add the product weight and dimensions for shipping calculations.
- Product type. Specify whether this is a simple, variable, virtual, downloadable, external/affiliate, or a grouped product. More about managing products here.
Press the “Publish” button to make the product live. Repeat the steps for every product in your catalog. You can use WooCommerce’s bulk CSV import option to add multiple products at once.
Step 5: Add and customize your WooCommerce theme and widgets
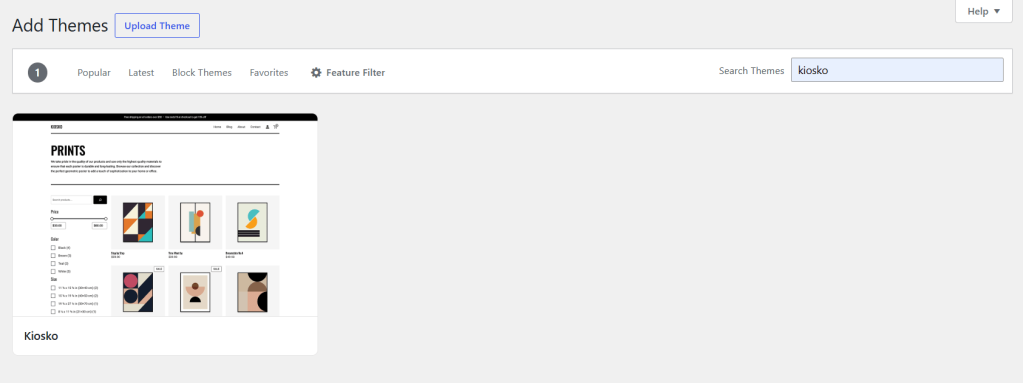
Your site’s theme controls how your store looks as well as its basic functions, i.e., layout, navigation, product page structure, and mobile-friendliness.
The active default theme for all brand new WordPress + WooCommerce sites is called Twenty Twenty-Five. Although it is a great website theme, it isn’t ideal for most ecommerce stores.
WooCommerce offers two great free themes, Storefront and Kiosko. If you’re looking for a premium WooCommerce-specific theme, check out Flatsome, Shoptimizer, or Botiga.
Once you’ve decided on a theme, head to Appearance → Themes in your site’s admin panel, to install and activate it. Then navigate to Appearance → Customize (this may change depending on your theme) to use the built-in Customizer to match the colors, fonts, and layout to your brand.
Important factors to consider when choosing a theme
- WooCommerce-specific features. Deep WooCommerce integration, conversion-focused, and a polished shop UX.
- Speed. Avoid bloated themes with heaps of built-in features that can slow down your store.
- Customization options. The ability to change colors, fonts, layout, header and footer structure, etc., without having to touch code.
- Mobile responsiveness. To capture ecommerce traffic that comes from mobile.
- Support and updates. Make sure the theme developer actively maintains your theme and provides quick, responsive support to avoid issues when WordPress or WooCommerce pushes an update.
Important: Add widgets to sidebars
Widgets are small content blocks (think: a search bar, a list of recent products, a category menu, a newsletter signup) that you can add to designated areas of your site, called sidebars. Note that sidebars sometimes show up in footers or above content too, not just the actual side of the page.
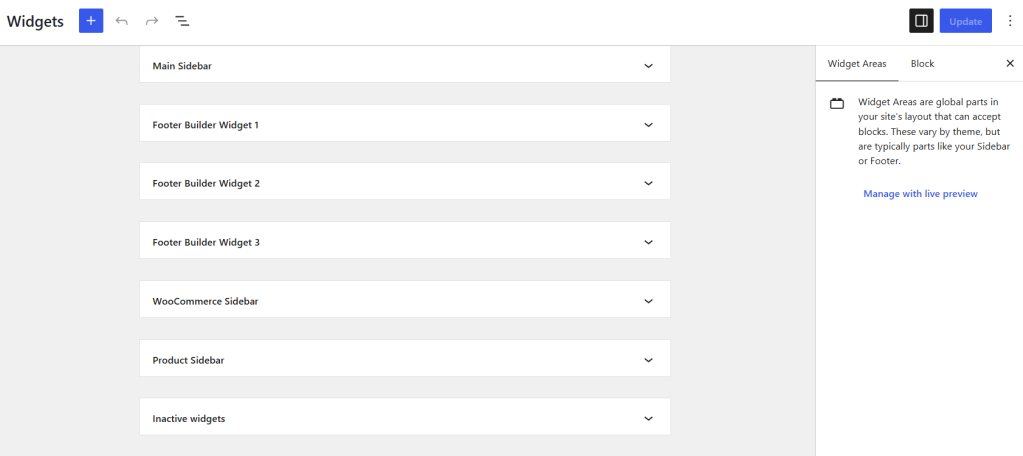
To add and customize widgets in your sidebars, navigate to Appearance → Widgets (depending on your theme) and drag the widgets you want into the areas your theme provides. A well-placed product search widget or category list can meaningfully improve how easily customers navigate your store, so don’t skip this step just because it feels cosmetic.
Step 6: Add plugins to your WooCommerce store
The final step in this WooCommerce tutorial is adding the plugins to extend your store’s functionality.
WooCommerce handles the core mechanics of selling and empowers store admins to add other specialized features using plugins. Plugins are like apps for WordPress and WooCommerce. They enable you to add features like analytics, security, email marketing, checkout optimization, and other functionality.
Instead of paying for one bloated, one-size-fits-all platform, this approach gives you the flexibility to install the exact features your store needs and skip the ones you don’t.
Here are my top plugin recommendations for ecommerce stores
- Website analytics and conversion tracking: DotStore Enhanced Ecommerce Google Analytics for WooCommerce, GTM4WP, PixelYourSite, Microsoft Clarity.
- Ecommerce SEO: RankMath, Yoast SEO, AIOSEO.
- Shipping and order fulfillment: Dotstore Flat Rate Shipping Plugin for WooCommerce, Dotstore Hide Shipping Method for WooCommerce, ShipStation.
- Ecommerce site security: Dotstore WooCommerce Fraud Prevention Plugin, Wordfence, Solid Security.
- Site performance: LiteSpeed Cache, WP Rocket, FlyingPress.
- Email and marketing automation: Klaviyo, Omnisend, Brevo.
- Checkout optimization: CartFlows, CheckoutWC, FunnelKit.
Set up your WooCommerce store today!
In this WooCommerce tutorial for beginners, I’ve shown you exactly what to do to build, configure, test, and launch your first online store.
Even if you have little or no WordPress and WooCommerce experience, these steps will help you build a real WooCommerce store from scratch.
Once your store is up and running, I recommend that you go through the customer journey multiple times to test that your store is set up correctly. At a minimum, you should add a product to your shopping cart, enter shipping information, pick a payment method, and complete the order, just as a real customer would.
Want to add more features to make sure your store functions exactly as desired? Check out The DotStore’s catalog of WooCommerce plugins that optimize your store’s shipping, pricing, checkout flow, analytics, and more.